How To Add Page Numbers In Word
Adding page numbers to your Word document can help organize your content and make it easier for readers to navigate through your work. Whether you're writing a report, a thesis, or even a simple letter, page numbers are an essential element of professional formatting. In this blog post, we will guide you through the process of adding page numbers in Word.
Step 1: Open your Word document
First, open the Word document to which you want to add page numbers. Make sure you have the document open in Microsoft Word.
Step 2: Go to the Insert tab
Next, navigate to the "Insert" tab in the Word toolbar. This is where you'll find the options to add various elements to your document, including page numbers.
Step 3: Select the Page Number option
Under the "Header & Footer" section in the Insert tab, you'll find the "Page Number" option. Click on the small arrow next to it to open the dropdown menu.
Step 4: Choose the desired page number style
In the dropdown menu, you'll see various page number styles to choose from. Select the style that best suits your document's formatting requirements. You can choose to place the page numbers at the top or bottom of the page, or even in the margins.
Step 5: Customize the page number format
After selecting the page number style, you can further customize the format of the page numbers by clicking on the "Format Page Numbers" option at the bottom of the dropdown menu. Here, you can specify the starting number, change the number format, and select different options such as "Continue from previous section" or "Start at" a specific number.
Step 6: Position and format your page numbers
Once you've chosen the desired page number style and format, Word will automatically insert the page numbers into your document. You can then position the page numbers by clicking on the header or footer section of your document and dragging the page numbers to the desired location. You can also change the font, size, and other formatting options of the page numbers using the Word toolbar.
Step 7: Apply page numbers to the entire document
By default, Word will apply the page numbers to the entire document. However, if you want to apply page numbers to specific sections or pages, you can do so by using section breaks. Insert section breaks before the pages or sections where you don't want the page numbers to appear, and then customize the page numbering for each section.
Step 8: Save and review your document
Once you have added the page numbers and customized them to your liking, save your document. Take a moment to review your document and ensure that the page numbers are correctly placed and formatted. Check that the page numbers are consistent throughout the document and that they reflect the correct page sequence.
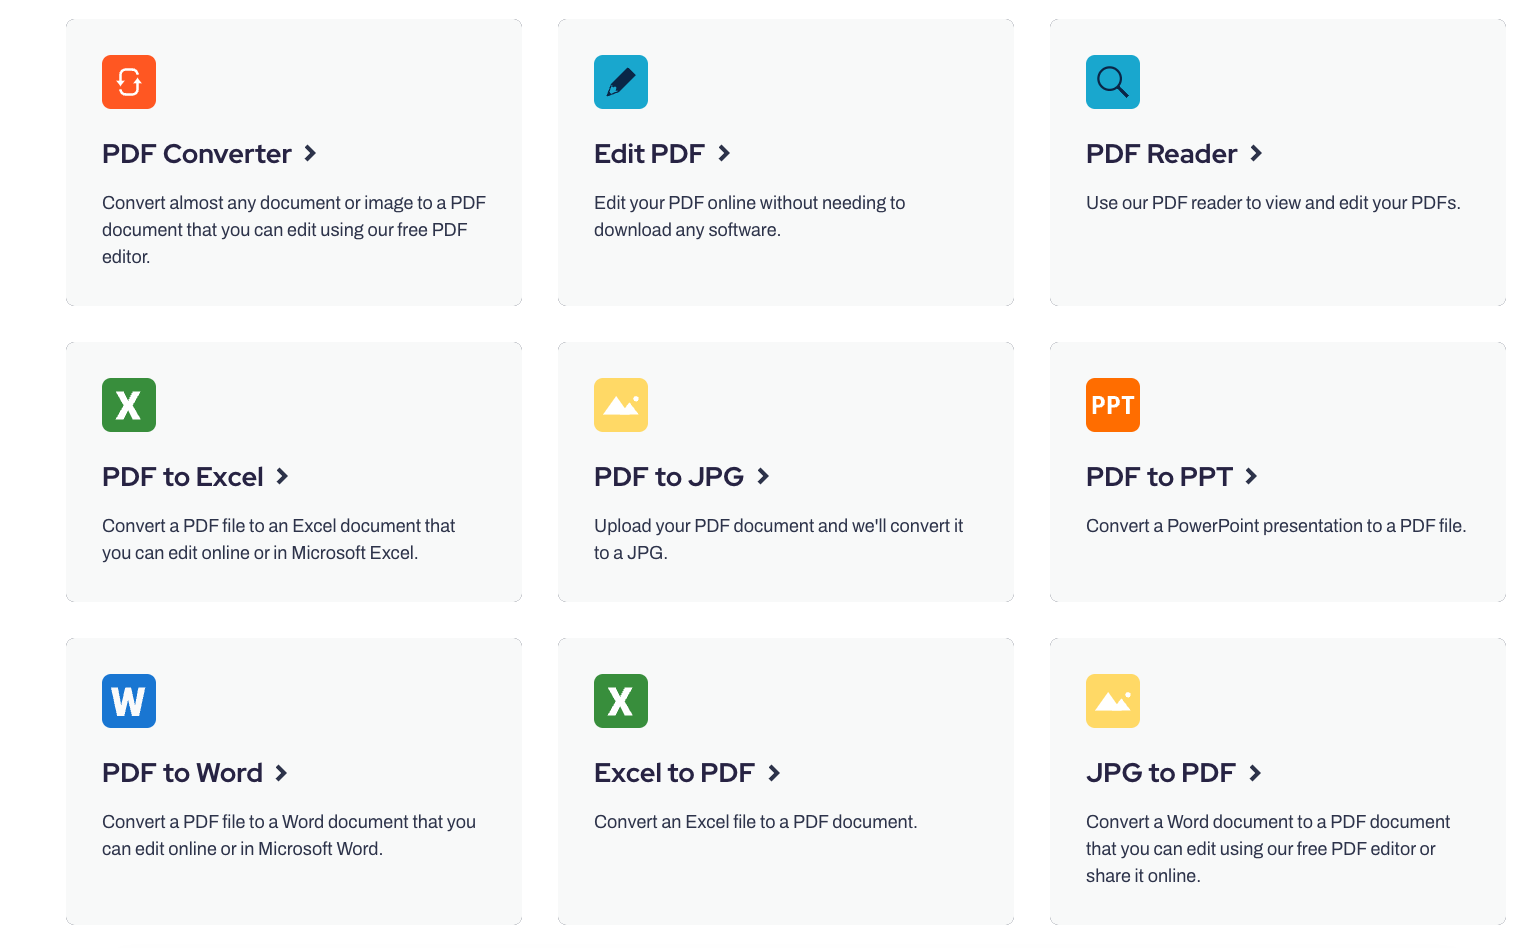
Now that you've got your page numbers, use PrintFriendly to sign, convert, or compress your document.
Now that you have added page numbers to your Word document, you can take advantage of PrintFriendly's features to further enhance your document. PrintFriendly is a handy tool that allows you to edit, sign, and compress your document with ease. You can add your signature to the document, making it more professional and official. Moreover, PrintFriendly enables you to compress your document, reducing its file size without compromising the quality of the content. This is particularly useful when sharing the document via email or uploading it to a website. With PrintFriendly, you have complete control over the final version of your document, ensuring that it is well-edited, signed, and optimized for sharing. Just head to our homepage or our PDF tools page to get started.
Related Posts

How to Redact a PDF on a PC

How to Open and Read a PDF on a Mac
